I usually make the hard drives on my virtual machines as small as possible to save disk space on the host. I do this because it is reasonably easy to resize them at a later date (especially if you using LVM). Anyhow here is a quick guide to resizing a qcow2 disk image.
1 – Shutdown the guest.. It’s important to shutdown the vm properly rather than pausing it or forcing it to a stop because you need the file system to be a perfect condition before resizing it.
virsh shutdown hostname
2 – Increase the qcow2 disk. It a simple command to increase the size of the disk. Here I am adding 5GB to an Ubuntu Server disk.
qemu-img resize ubuntu-server.qcow2 +5GB
3 – Resize the partition Now that the virtual disk has been resized you need to resize the guest’s partitions within the image. I recommend using a small live Linux distrobution such as GParted Live. First download an iso image of GParted and attach it to the virtual machine by editing the vm settings.
virsh edit hostname |
Add a boot order at the top. By default there will be one node that should read:
<boot dev='hd'/> |
Simply change this to:
<boot dev='cdrom'/> |
Add a cdrom after the hard disk. Make sure to change the /path/to/image.iso to the ISO image you want to boot from. If you don’t set this correctly the VM will not boot.
<disk type='file' device='cdrom'/> |
<source file='/mnt/iso/gparted-live-0.16.1-1-i486.iso'/> |
<target dev='hdc' bus='ide'/> |
<readonly/> |
</disk> |
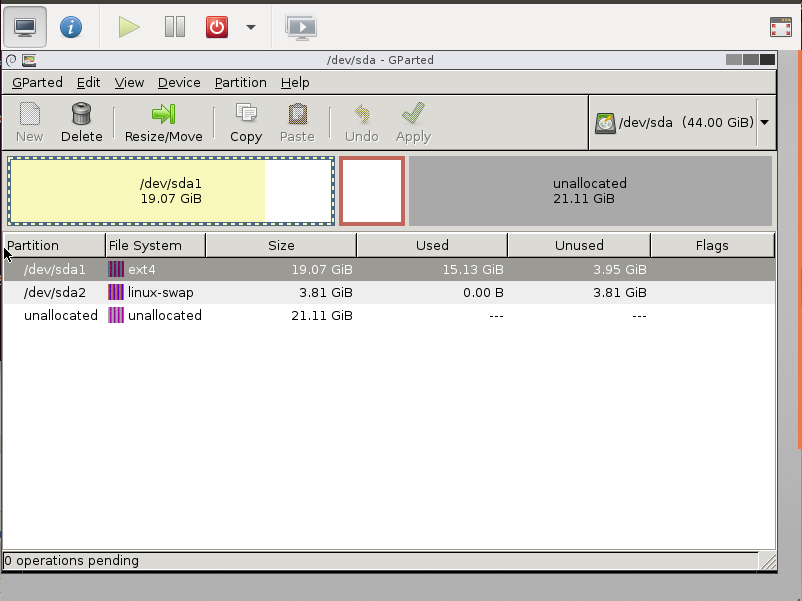
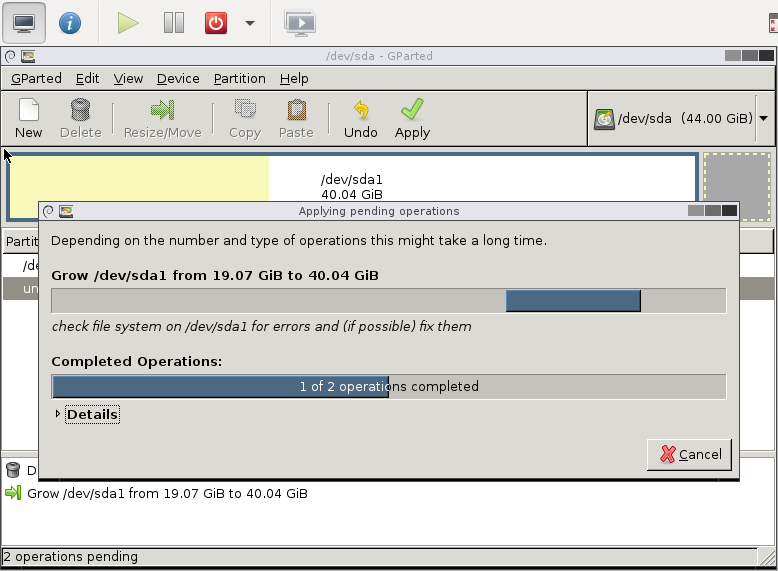
Finally, start the VM and VNC into it. I tend to use Virtual Machine Manager to connect to a VM. It works brilliantly on most Linux machines. You should then be able to use GParted to increase the size of the partition.
4 – Start the VM backup Note: Unless you really need it – I generally edit the VM and remove the cdrom and boot order by reversing the step described above.
virsh start hostname |


")
